
How to Retrofit an Old Shower for Water Efficiency
Last Updated: November 1, 2026
Quick Summary
To retrofit old shower fixtures, first assess each showerhead's flow rating, thread type, and valve condition, then measure baseline flow with a bucket and timer. Installing a low-flow showerhead with plumber's tape and retesting the flow confirms the savings.
- Most older fixtures predate modern standards and may flow at 3 to 5 GPM or more.
- Measure flow by timing how long a 1-gallon container takes to fill, then divide 60 by the seconds.
- Wrap shower arm threads clockwise three to four times with plumber's tape before installing the new head.
- Tighten the new head by hand, then about a quarter turn past hand-tight to avoid cracking the fitting.
- Retrofit every outlet in combination showers, since upgrading only the fixed head leaves the handheld at high flow.
Table of Contents
- Assess Your Existing Shower Before Making Changes
- How to Measure Shower Flow Rate Before and After Retrofitting
- Step-by-Step: Installing a Low-Flow Showerhead Retrofit
- Setting Up Common Shower Configurations
- Shower Flow Restrictor Installation for Fixed-Head Showers
- Adding a Shower Timer for Water Conservation
- Troubleshooting Low Pressure, Mineral Buildup, and Poor Spray
- Booking Your Retrofit Next: Verifying Savings and Choosing Your Upgrade Path
- Frequently Asked Questions
Assess Your Existing Shower Before Making Changes
Retrofitting old showers for water efficiency starts with a careful assessment of each fixture before you retrofit old shower fixtures, which helps prevent costly mistakes. For more methods to cut shower water use, read seven proven methods to stop excessive shower water use. Most older fixtures were installed when showerheads could flow at 3 to 5 gallons per minute (GPM) or more, so identifying what you have prevents buying incompatible parts and return trips.
1. Identify the showerhead flow rating. Look for a stamp on the face of the head or on the neck near the threads. If there is no marking, assume the fixture predates modern standards and plan to replace it. A quick bucket test (covered in the next section) gives you the actual GPM.
2. Determine the connection type. Most showerheads use a 1/2-inch national pipe thread (NPT) connection, but older or imported fixtures may use a different thread or a proprietary quick-connect. Unscrew the head and inspect the threads: tapered threads indicate standard NPT; straight threads or a slip-on fitting indicate a non-standard connection that may need an adapter.
3. Check the shower arm and valve. Look for mineral crust, corrosion, or drips at the wall connection. A valve that drips when the shower is off wastes water continuously and should be repaired before any fixture upgrade. If the shower arm is loose or corroded, replace it during the retrofit, it is an inexpensive part and saves a second disassembly.
4. Note the configuration. Fixed head, handheld, or both? A combination setup often has separate outlets, and upgrading only one leaves the other at high flow. Record whether the handheld uses a separate hose and cradle, because some low-flow handhelds require a matching hose or flow restrictor.
5. Test static water pressure. Screw a pressure gauge onto the shower arm (or a nearby hose bib on the same supply) and open the valve fully. Most residential systems run 40 to 80 psi. If pressure is below 40 psi, a very restrictive low-flow head may feel weak; choose a model rated for low-pressure operation or address the supply issue first.
A common mistake is buying a replacement before checking the existing setup. Many old shower arms use a different thread size, and a mismatch means a return trip. Write down the thread type, flow rating, and configuration for each shower before you retrofit old shower parts.
How to Measure Shower Flow Rate Before and After Retrofitting
Flow rate is the amount of water a shower uses per minute, measured in gallons per minute (GPM). You can measure it yourself with a bucket and a timer.
Here is the simple method:
- Hold a 1-gallon container under the showerhead with the water running at normal pressure.
- Time how long it takes to fill the container to the 1-gallon mark.
- Divide 60 by the number of seconds. The result is your flow rate in GPM.
For example, if the container fills in 12 seconds, the flow rate is 60 divided by 12, which equals 5 GPM.
Measure before you change anything, then measure again after the retrofit. Write both numbers down. This gives you a real baseline, so you can confirm the savings instead of guessing.
Watch out: Measure with the shower at its normal setting. Opening the valve wider than tenants usually do will give you a number that overstates the flow.
Step-by-Step: Installing a Low-Flow Showerhead Retrofit
A low-flow showerhead is generally one of the simpler retrofits, and many maintenance teams can handle it with basic tools.
Tools and materials:
- Adjustable wrench or 6-inch pipe wrench
- Plumber's tape (thread seal tape, 1/2-inch width)
- Soft cloth or rag
- Small brush or old toothbrush for cleaning threads
- Bucket and timer for the before-and-after flow test
- The new low-flow showerhead (look for the EPA WaterSense label)
Installation sequence:
- Measure baseline flow. Before removing anything, run the bucket-and-timer test described in the previous section and record the GPM.
- Shut off the water at the fixture valve or the building supply if accessible. If you cannot shut off supply, close the valve fully and work carefully.
- Loosen the old head. Wrap a cloth around the showerhead for grip and turn counterclockwise with the wrench. If the head is stuck, apply a few drops of penetrating oil at the thread joint and wait 10 minutes before trying again. Avoid forcing, excess torque can crack the shower arm.
- Clean the threads. Remove old tape and mineral buildup from the shower arm threads with a small brush. Rinse and dry.
- Wrap plumber's tape. Wrap clockwise (viewed from the end of the arm) three to four times, covering the threads but not the opening.
- Install the new head. Screw on by hand until snug, then tighten gently with the wrench, about a quarter turn past hand-tight. Over-tightening can split the fitting.
- Test for leaks. Turn the water on and check the connection. A drip means the tape wrap is insufficient or the head is cross-threaded; remove, re-tape, and reinstall.
- Measure new flow. Repeat the bucket-and-timer test and compare to baseline.
Expect a clear, steady spray right away. A slight drop in pressure is normal, but the spray should still feel strong enough for a comfortable shower. If the new head feels weak, check the inlet screen for debris before assuming the fixture is at fault.
The steps below summarise the installation sequence, with the key action and time or check for each.
ShowerTimer Standard Unit / with 12V Plug-In Power Supply →
| Step | What to do | Time or check |
|---|---|---|
| Measure baseline flow | Run the bucket-and-timer test before removing anything | Record GPM |
| Shut off water | Close the fixture valve or building supply | Before removal |
| Loosen old head | Turn counterclockwise with a wrench and cloth | Wait 10 min if stuck |
| Clean threads | Remove old tape and mineral buildup | Rinse and dry |
| Wrap plumber's tape | Wrap clockwise 3-4 times | Cover threads, not opening |
| Install new head | Hand-tighten, then about a quarter turn | Avoid over-tightening |
| Test for leaks | Turn water on and check connection | Re-tape if dripping |
| Measure new flow | Repeat the bucket-and-timer test | Compare to baseline |
Setting Up Common Shower Configurations
Not every shower is the same. Matching the retrofit to your setup prevents wasted money and poor performance.
Single Fixed-Head Showers
These are the most common in dorms and apartments. A standard low-flow head works well here. Check the arm thread size first.
Combination Fixed and Handheld Showers
If your shower has both, you can retrofit each outlet separately. A common mistake is upgrading only the fixed head while the handheld stays at high flow. Replace or fit a flow restrictor to both.
Shared Communal Showers
Campgrounds and gyms often run banks of showers. Retrofit every head in the row. One high-flow head can offset the savings of the rest.
Shower Flow Restrictor Installation for Fixed-Head Showers
A flow restrictor is a small insert that limits how much water passes through the showerhead. It can be a useful option if you want to keep your current head but cut water use.
Installation steps:
- Unscrew the showerhead from the arm.
- Look inside the connection for the washer or inlet.
- Insert the flow restrictor so it sits flush against the inlet.
- Reattach the showerhead and wrap the threads with tape.
- Test the spray and check for leaks.
Restrictors are cheaper than full replacements, but they can reduce pressure more than a new low-flow head. Test the result before you commit across an entire building.
Adding a Shower Timer for Water Conservation
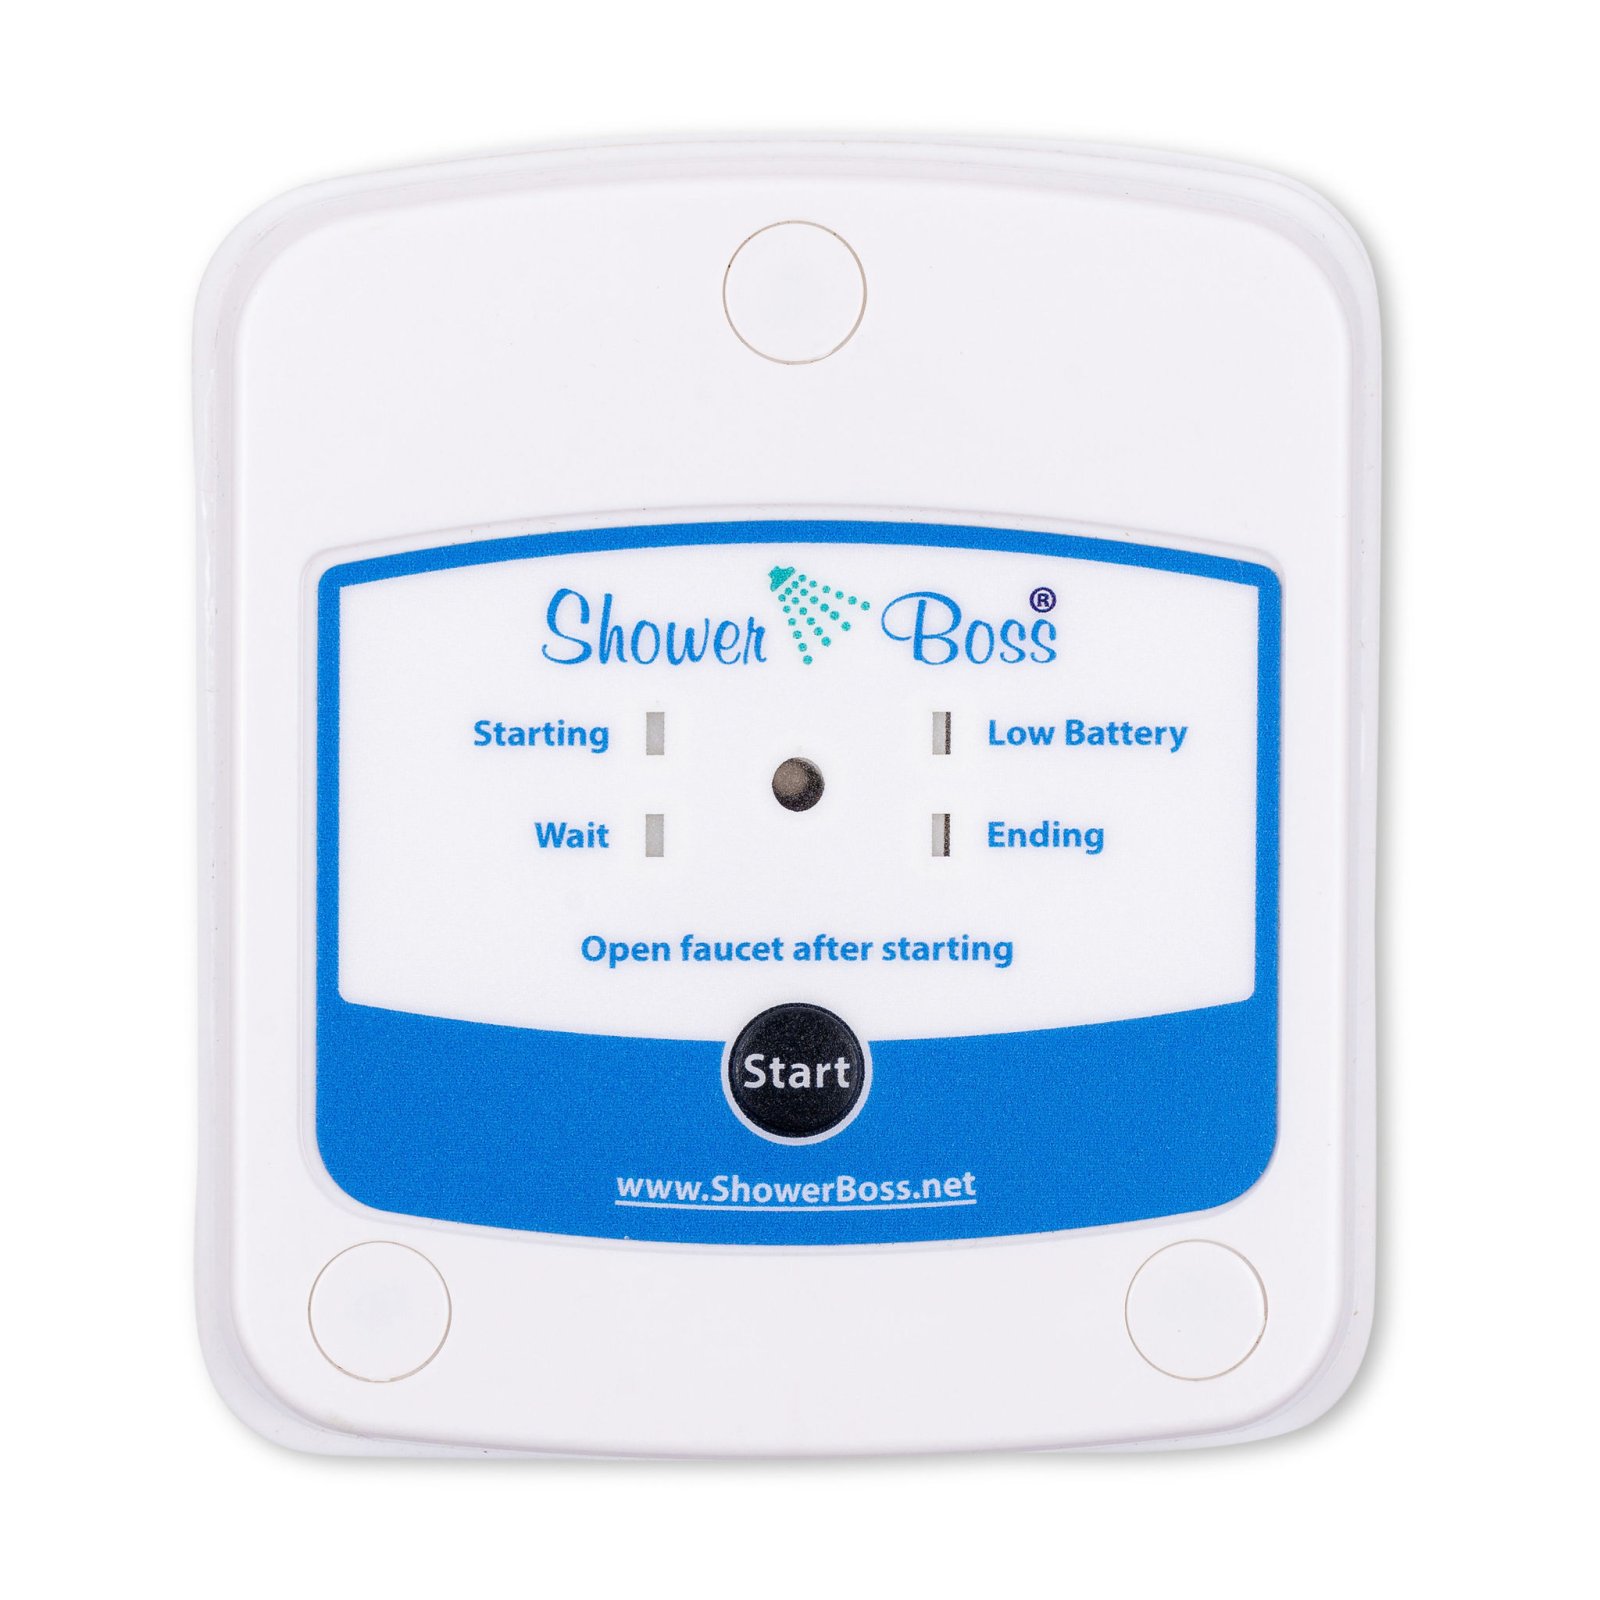
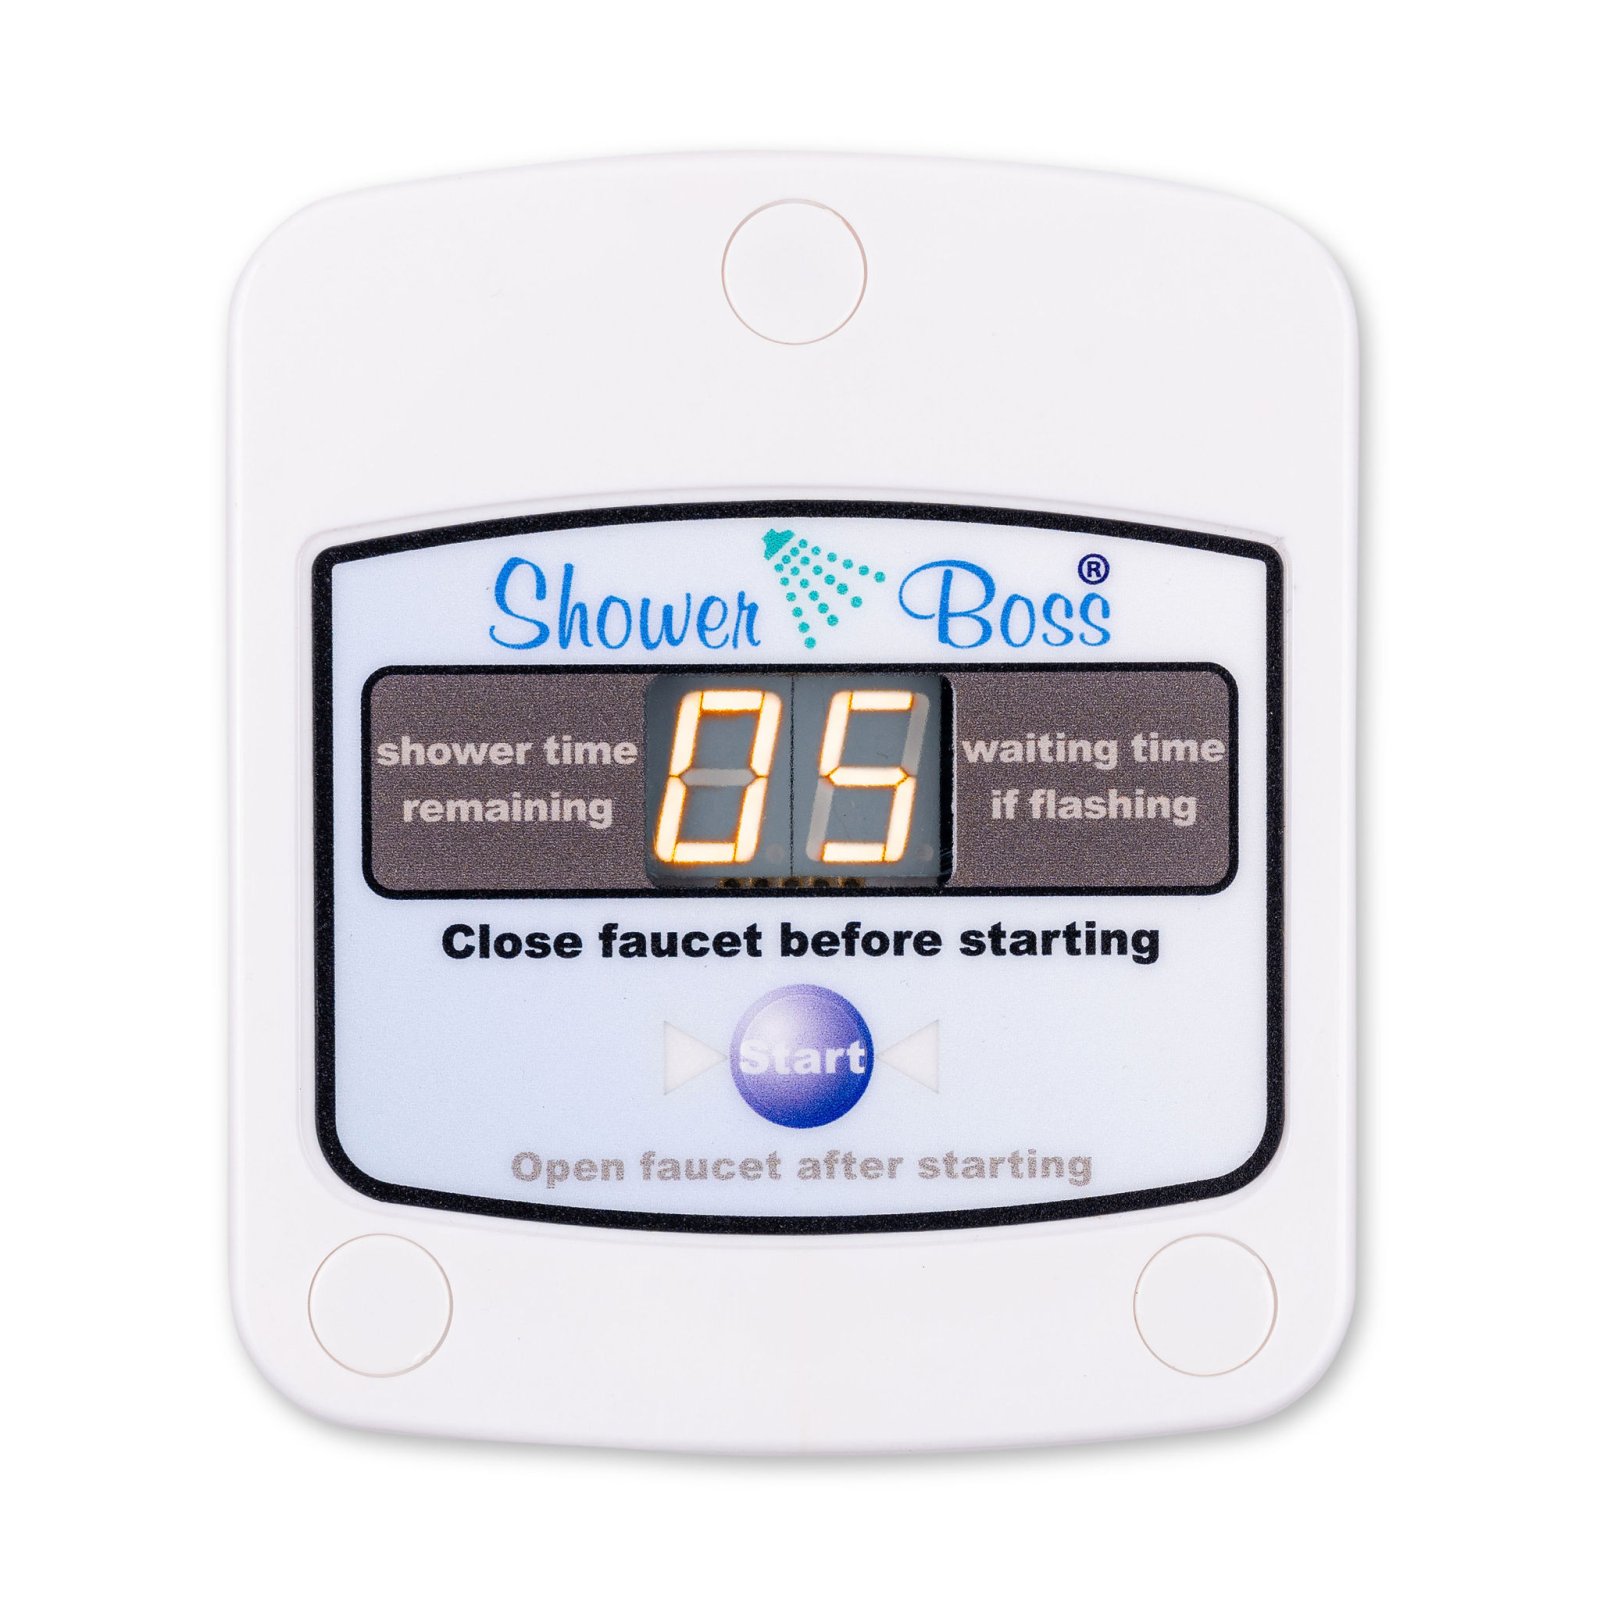
A timer does not change the fixture. If you plan to fit one yourself, this guide to installing shower timers without professional help walks through the process. It limits how long each shower runs, which can cut water use on top of a fixture upgrade. This works well in dorms, campgrounds, and rental buildings, where tenants do not pay the water bill directly.
ShowerBoss® offers shower timers for this purpose:
- ShowerTimer Standard Unit / with 12V Plug-In Power Supply ($260.00) is best suited for new construction and remodeling, and is handicap accessible for ADA requirements. Explore the ShowerTimer Standard Unit with 12V power supply.
- ShowerTimer Battery unit 9V ($250.00) needs no wiring, which suits areas with limited access to power outlets. See the battery-powered ShowerTimer.
Before buying, confirm which model matches your plumbing and power setup. Plan for a shorter shower session. Clear communication with users can help.


Troubleshooting Low Pressure, Mineral Buildup, and Poor Spray
Problems after a retrofit are usually easy to fix.
- Low pressure: Check whether the restrictor or low-flow head is too restrictive for your supply. Clean the inlet screen first.
- Mineral buildup: Soak the head in white vinegar for 30 minutes to loosen deposits, then rinse.
- Uneven or weak spray: Clear clogged nozzles with a small brush or pin.
- Drips at the connection: Re-wrap the threads with more plumber's tape and retighten gently.
If the spray stays weak after cleaning, the problem may be building-wide pressure, not the fixture. That calls for a different fix.
Booking Your Retrofit Next: Verifying Savings and Choosing Your Upgrade Path
Once the retrofit is in place, measure the flow rate again and compare it to your baseline. Multiply the GPM difference by the average shower length and the number of showers per day to estimate savings.
Choose your next step based on your results:
- If a low-flow head met your target, stop there and monitor usage for a few months.
- If you need more reduction, add a shower timer to control session length.
- If pressure or spray is poor, troubleshoot first or consider a different head model.
Frequently Asked Questions
How can I make an old shower more water-efficient?
Start by measuring the current flow rate, then replace the showerhead with a low-flow model, ideally one carrying the EPA WaterSense label. Check the shower valve and any aerators for leaks, and add a flow restrictor if the fixture cannot be replaced. Pair the hardware change with a shower timer or a simple time limit for tenants or guests, since behavior changes often add savings on top of the fixture upgrade. Confirm the results by measuring flow again after the work is complete.
Can I replace a showerhead without remodeling the bathroom?
Yes. Most showerheads thread onto a standard shower arm, so replacement usually requires only an adjustable wrench, plumber's tape, and about 15 minutes. Remodeling is typically unnecessary unless the shower arm itself is damaged, corroded, or the wrong thread size for the new fixture. Check the arm's thread size and the fixture's connection type before buying, and note whether the shower uses a pressure-balancing valve.
How much water can a low-flow showerhead save?
A showerhead rated at 2.0 gallons per minute uses noticeably less water than older fixtures that flow at 2.5 gallons per minute or more, . The actual savings depend on the old fixture's flow rate and how long people shower. Measure your current flow with a bucket and timer, then compare it to the new rating to estimate the change for your property.
What showerhead flow rate saves water while maintaining good pressure?
Showerheads rated at 2.0 gallons per minute or less, many of which carry the EPA WaterSense label, are designed to deliver good spray performance at lower flow. Look for pressure-compensating or aerated designs, which maintain a steady feel across different household water pressures. Test the fixture in your own bathroom after installation, since water pressure varies by building and can affect how a lower-flow head feels.
Ready to cut water use across your property? Get started with ShowerBoss® timers and see measurable savings on your next utility bill.
