
Installing Shower Timers Without Professional Help
Table of Contents
- Why Installing Shower Timers Without Professional Help Is Easier Than You Think
- Reminder Timers vs. a Shower Timer That Shuts Off Water
- Shower Timer Installation Tools and Materials You Will Need
- Step-by-Step: Installing Shower Timers on Your Shower Valve
- Shower Timer Setup and Programming for Your Household
- Shower Timer for Renters: Non-Invasive Installation Options
- Common Mistakes, Troubleshooting, and Maintenance After Installation
- Frequently Asked Questions
Last Updated: October 16, 2026
Why Installing Shower Timers Without Professional Help Is Easier Than You Think
Installing shower timers without professional help is a realistic weekend project for most homeowners and facility managers.
Here's the catch most guides skip. The job isn't hard because of the plumbing.
Before you pick up a wrench, know which device you're dealing with.
This guide walks through both types, the tools you'll need, a full step-by-step install, and the mistakes that trip up first-timers.
Reminder Timers vs. a Shower Timer That Shuts Off Water
A reminder timer beeps or flashes when time is up. A shower timer that shuts off water actually stops the flow.
Automatic shutoff devices connect to the valve or supply line. When time runs out, a mechanical valve closes and the water stops.
Here's how the two compare:
| Feature | Reminder Timer | Automatic Shutoff Timer |
|---|---|---|
| Touches plumbing | No | Yes |
| Stops water flow | No | Yes |
| Best for | Homes, light use | Rentals, dorms, gyms |
| Install difficulty | Very easy | Moderate |
| Enforces limits | No | Yes |
For a rental property or a dorm, only the shutoff type actually controls use. A reminder just gets ignored.
Shower Timer Installation Tools and Materials You Will Need
Most shower timer installation tools fit in a single bucket, you won't need a plumber's full kit. The harder part is confirming your timer will fit your shower before you buy it. This section covers the compatibility check first, then the tool list.
Compatibility Checklist: Run This Before You Buy
Work through these five questions before you buy.
- What type of shower valve do you have? Single-handle pressure-balance valves (the most common residential type), two-handle compression valves, and thermostatic valves all accept inline shutoff devices differently. A single-handle valve usually needs the timer plumbed between the valve outlet and the shower arm. A two-handle valve may need two devices or a single inline unit on the hot side only.
- What is your shower arm thread size? Most residential shower arms use 1/2-inch NPT (National Pipe Thread) male threads at the wall and head. Some imported fixtures use 1/2-inch BSP (British Standard Pipe), which looks similar but will not seal against NPT. Check the thread with a known 1/2-inch NPT fitting before you commit.
- Is there a shutoff already in the line? If your showerhead has a push-button pause valve, an inline timer may stack awkwardly. Measure the gap between the wall and the head.
- Where will the timer body sit? Inline units add roughly 2 to 4 inches of length to the shower arm. If the head is close to a glass panel or low ceiling, you may need a longer arm or a right-angle adapter.
- Do you have power where you need it? Battery units need nothing. Plug-in units need a GFCI-protected outlet within cord reach. Hardwired units need a licensed electrician in most jurisdictions.
If you're unsure about the valve type, snap a photo with the handle removed and compare it against the install sheet.
Tools and Materials
Gather these before you start:
- Adjustable wrench (10-inch is enough for most fittings)
- Phillips and flathead screwdrivers
- Teflon tape (also called PTFE tape) for threaded fittings
Model-Specific Pathways
The tools you actually use depend on which of the three common device types you bought:
- Inline mechanical shutoff (battery or spring-driven): No wiring. You need the wrench, Teflon tape, and the level. Install time is typically 30 to 45 minutes.
- Inline electronic shutoff (solenoid valve): Same plumbing tools, plus a power source. Battery versions need six AA cells in most designs; plug-in versions need a GFCI outlet. Install time is 45 to 75 minutes.
- Showerhead-mounted or hose-mounted timer: No plumbing tools at all. You thread it between the arm and the head by hand, then snug it a quarter turn with a wrench. Install time is 5 to 10 minutes.
A battery unit needs no wiring; a plug-in unit needs a nearby GFCI-protected outlet. Check your box first, the included fittings tell you which pathway you're on.

Step-by-Step: Installing Shower Timers on Your Shower Valve
This section covers a standard automatic shutoff install, about 60 to 90 minutes for a first-timer.
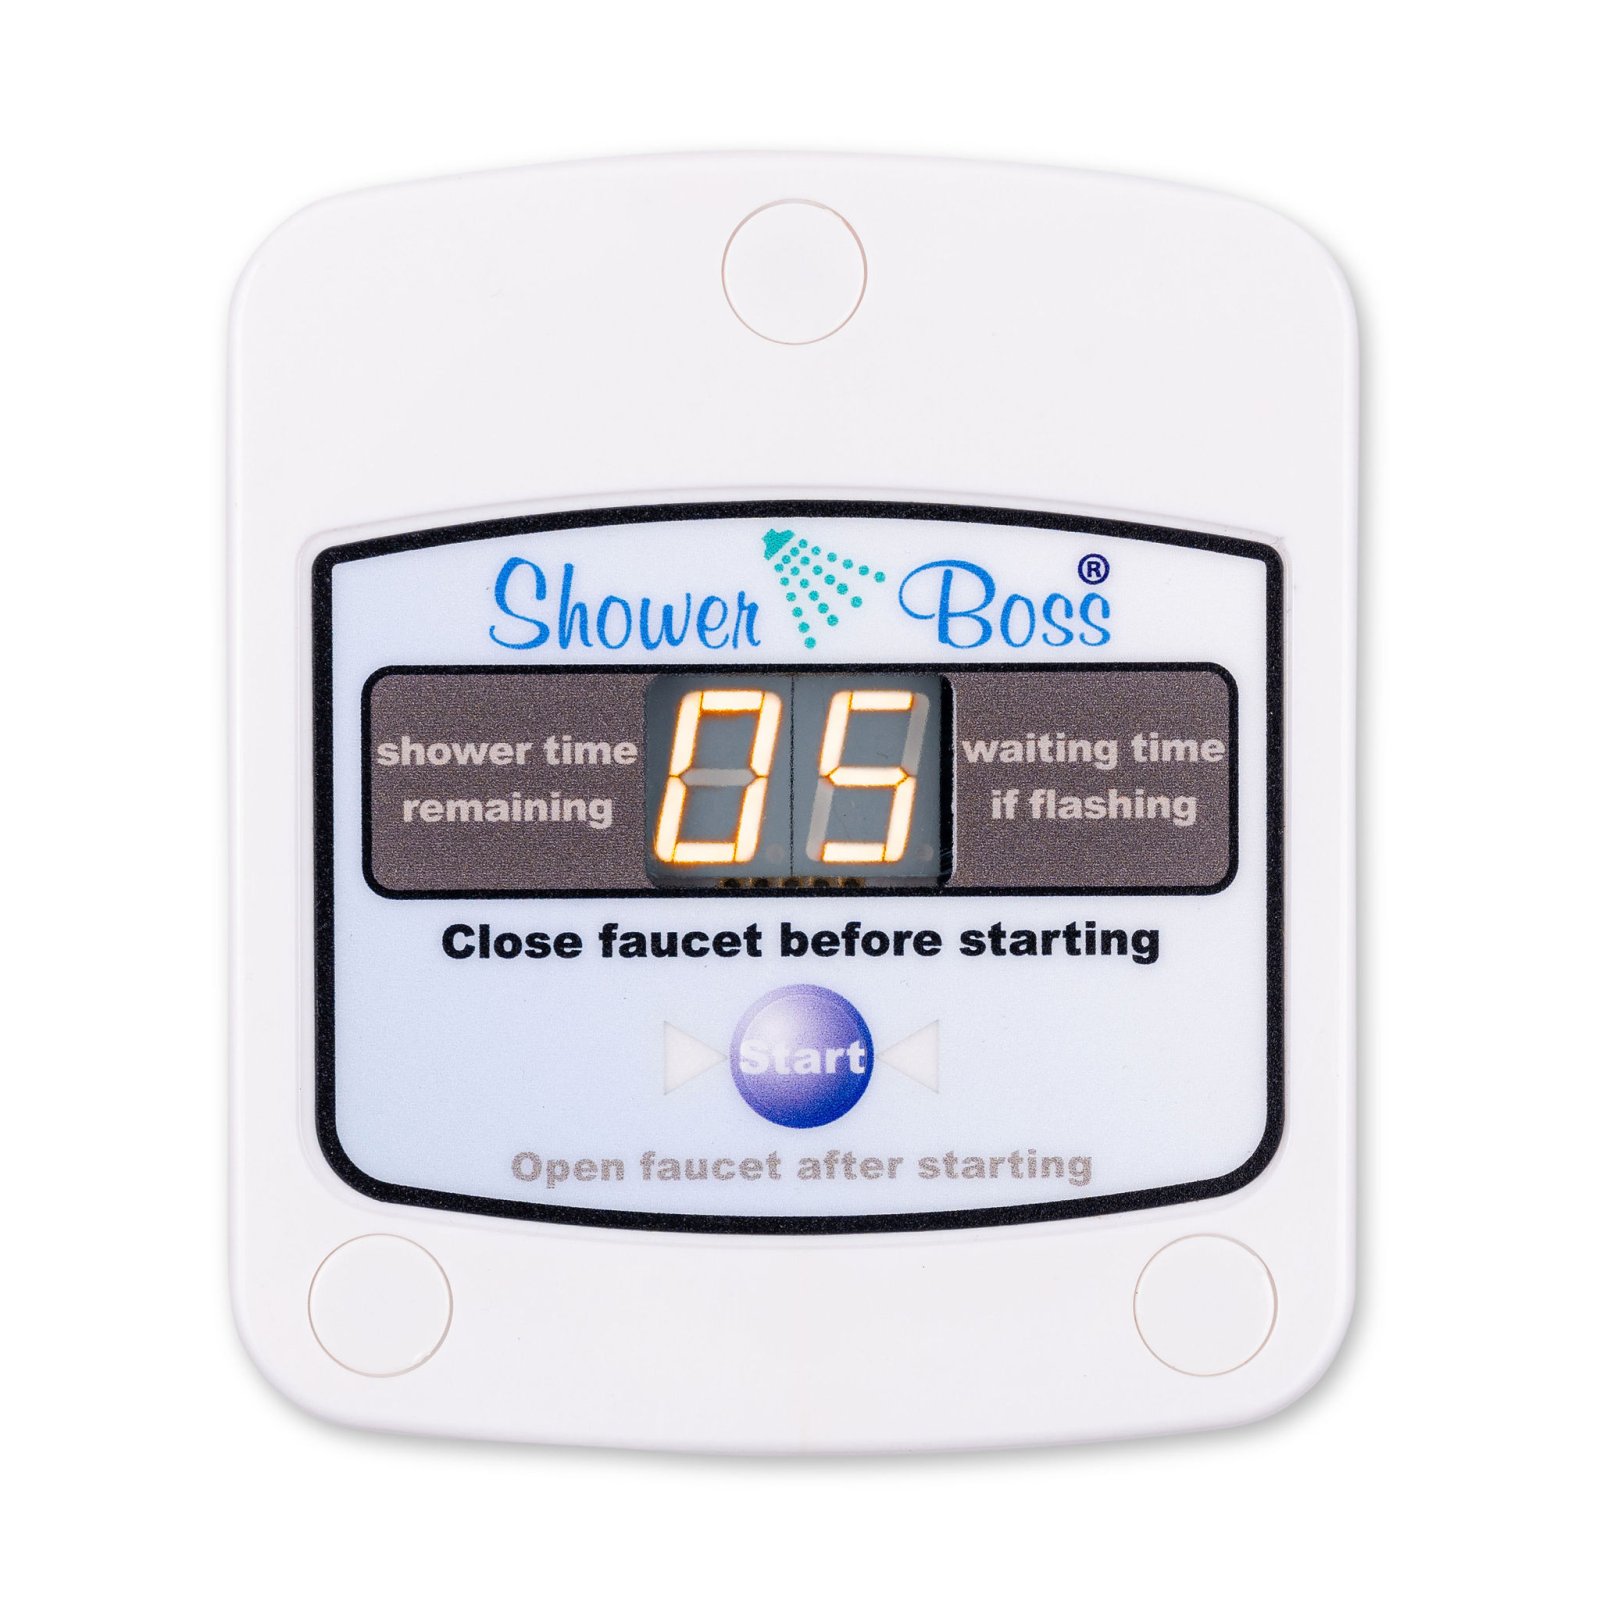
Step 1: Shut Off the Water Supply and Prep the Shower
Turn off the main water supply. Open the lowest faucet in the house to drain the lines and confirm the water is off.
Remove the showerhead or handle to reach the valve, and lay towels down, expect some spillage even after shutoff.
Check the valve type while you're in there. Most units work with standard shower valves, but recessed valves and some older fixtures need an adapter.
Step 2: Mount the Timer and Connect Plumbing Fittings
Mount the timer body first, using the level to keep it straight, then connect the plumbing.
Thread the nylon valve onto the supply line and hand-tighten, then snug it with the wrench. Don't crank it, over-tightening cracks nylon fittings.
For a plug-in model, run the 12V cord to the outlet now. Our ShowerTimer Standard Unit comes with a 12V plug-in supply and a nylon valve.

Step 3: Leak Testing and Restoring Water Pressure
Turn the water back on slowly. Watch every connection for drips.
Run the shower for a full cycle and confirm the timer actually closes the valve at the set time.
Check for leaks again after the first full cycle. Pressure changes reveal slow drips that don't show up right away.
Shower Timer Setup and Programming for Your Household
Shower timer setup and programming takes about five minutes once the unit is running. The settings matter more than the install, and the savings they produce are calculable.
Start With a Realistic Time Limit
Five to seven minutes covers most showers; too short frustrates people and leads to tampering. In shared facilities, a common pattern is setting the limit at the 75th percentile of actual shower times, then tightening it after a month.
A few settings to dial in:
- Shower duration: 5-7 minutes for homes, 4-5 for shared facilities
- Grace period: a short override window (30-60 seconds) for rinsing
- Temperature control: confirm the timer doesn't interfere with your mixing valve, a solenoid that closes abruptly can cause a pressure spike in some single-handle valves
Estimating Your Water and Energy Savings
You can estimate savings with three numbers you already have: flow rate, average shower length, and utility rates.
Step 2, Measure your average shower. Time three showers in your household and average them. A common residential average is 8 minutes.
Step 3, Do the math.
- Water used per shower = flow rate × minutes
- At 2.5 gpm for 8 minutes: 20 gallons per shower
- At 2.5 gpm for 5 minutes (timer-limited): 12.5 gallons per shower
For a household of four, each showering once a day:
- 7.5 gallons × 4 people = 30 gallons per day
- 30 gallons × 365 days = 10,950 gallons per year
Step 4, Convert to dollars. Water and sewer rates vary widely by utility.
Step 5, Add water-heating energy. Heating water is often the larger cost.
Tuning for Different Settings
- Single-family home: 6-7 minutes with a 60-second override. Families with young children often need the longer limit.
- Dorm or barracks: 4-5 minutes, no override, or an override that logs to a supervisor. Tight limits deliver savings because usage is high and users don't pay the bill.
- Gym or campground: 3-4 minutes with a 30-second override. These facilities see the highest turnover and fastest payback.
Documenting Your Settings
Write the install date, set duration, override window, and battery type on a label inside the timer housing or bathroom cabinet door. When the unit misbehaves six months from now, that label saves a diagnostic step.
Shower Timer for Renters: Non-Invasive Installation Options
A shower timer for renters doesn't have to mean drilling into the wall or cutting pipe. Several options leave the plumbing untouched.
The simplest is a battery-powered unit that mounts with adhesive or a single screw you can patch later. Our ShowerTimer Battery Unit 9V needs no wiring and no outlet, so it works in rentals where you can't add power.

Other renter-friendly paths:
- A handheld shower wand timer that threads between the pipe and the showerhead
- A suction-mount reminder timer that never touches plumbing
- A landlord-approved swap of the showerhead for a timed model
If you rent, check your lease before any install. Some landlords welcome water-saving upgrades. Others want to approve the hardware first.
Common Mistakes, Troubleshooting, and Maintenance After Installation
The biggest mistake is buying a reminder timer when you needed automatic shutoff. The second is skipping the leak test. Both are avoidable.
Here's how to fix the problems that come up most:
| Problem | Likely Cause | Fix |
|---|---|---|
| Timer won't shut off water | Valve not seated | Re-seat fitting, check threads |
| Drip at connection | Missing Teflon tape | Re-wrap and re-tighten |
| Unit resets randomly | Weak batteries | Replace all six AA cells |
| Water pressure dropped | Clogged screen | Clean the inlet screen |
| Timer ignores settings | Wrong program mode | Re-enter setup menu |
Maintenance is light. Check connections twice a year. Replace batteries on a schedule. Clean the inlet screen if pressure drops.
For anything involving the main valve or a soldered pipe, call a professional plumber. Installing shower timers without professional help works for standard setups.
Frequently Asked Questions
Can I install a shower timer without a plumber?
Yes, most shower timers are designed for DIY installation. Battery-powered models like the ShowerTimer Battery Unit 9V ($250.00) need no wiring and mount quickly. Units with a 12V plug-in supply, such as the ShowerTimer Residential Unit ($250.00), also install without a plumber as long as you have access to the shower valve or the back of the shower wall. If you cannot reach the plumbing connections, a professional plumber may be needed.
What tools do I need to install a shower timer?
Basic shower timer installation tools include an adjustable wrench, Phillips and flathead screwdrivers, plumber's tape, a towel or bucket for drips, and a flashlight. If you are mounting the unit on tile, add a drill with a tile bit and wall anchors. Most kits include mounting screws and brackets. No soldering or special electrical tools are required for battery or plug-in models.
Do shower timers work with every shower?
Compatibility depends on your shower valve type. Standard units work with most recessed and mechanical valves found in homes, dorms, and gyms. Units with a nylon valve fit standard plumbing connections, and the ShowerTimer Standard Unit also works with the Heavy Duty Brass valve ($65 upgrade). Check your valve type and water pressure before ordering. If you have an unusual fixture, contact the manufacturer for a compatibility check.
What should I do if my shower timer leaks or does not work?
First, shut off the water supply and check that all plumbing connections are hand-tight plus a quarter turn with a wrench. Reapply plumber's tape to threaded fittings if needed. If the timer does not shut off water, verify the timer settings and battery or power supply. For persistent leaks at the valve, replace the nylon washer or contact the manufacturer for a replacement part. Most issues trace back to loose connections.
Cutting water waste across a dorm, campground, or rental building isn't about asking people to change. It's about giving them a system that runs itself. ShowerBoss® builds programmable timers for exactly that job, with battery and 12V models that fit homes and commercial facilities alike. Our units are designed for simple installs, adjustable settings, and long-term durability in high-traffic bathrooms. Get started with ShowerBoss® and start cutting utility costs one shower at a time.